When cleaning any space, the industry standard for commercial cleaning has seven phases. These strategies frequently require handling certain items first before moving on to the subsequent phases. The purpose of performing each step, in proper order is explained below.
- Get rid of trash- Empty trash bags and garbage can liners are discarded. The interior of the trash can has to be properly cleansed after this. Finally, use a fresh bag to replace the bin liner. This is the most important part of commercial cleaning Melbourne because no one likes seeing overflowing trash containers.
- Dust at a greater elevation- Work either clockwise or counterclockwise when dusting anything above shoulder height. Additionally, this makes the moist mopping operation much easier to handle, similar to clearing a floor of trash before cleaning.

3. Damp Wipe- Exceptfor glass surfaces, clean all high-touch surfaces with a moist cloth and a neutral disinfectant. In offices, surfaces like light fixtures, telephones, doorknobs, and desks frequently are high-touch areas. Given the danger posed by germs that are concentrated on these surfaces, this is a very crucial step.
4. Restore supplies of goods- The following phase necessitates some form of remediation after wiping the high-touch surfaces. Toilet rolls, paper towels, and soaps—products that promote daily cleanliness—must be replenished, particularly in restrooms, for two reasons. One benefit is that having readily available cleaning supplies will aid in preventing the spread of bacteria and other contagions. Of course, upholding societal norms is the second.
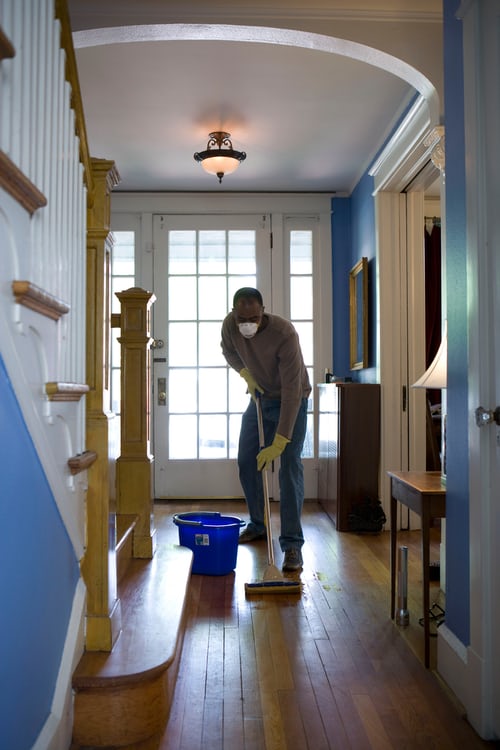
5. Dust-mop or clean the floor- Move to the lower regions, including the floor, after cleaning all the surfaces at shoulder level and above. In order to make the following step is simpler, entails using a duster or “dry” mop to gather floor dust. No corner can have collected dirt, which also poses a health threat.
6. Check the area as a whole for any missing steps- It is essential to stroll around the area and look for anything that needs extra cleaning, anything damaged, or unusual before moving on to the last step. A janitor or professional cleaner is not necessary to fix any broken things. Damages must, however, be notified to the owner. Finding problems early on during this stage also avoids delaying wet mopping, which can require more time to clean the floor if debris is tracked over it.
7. Damp-mop any floor surface- Wet mopping, which lends a delicate touch to the floor and is easily interrupted, is the last stage in cleaning a space. A neutralized or diluted cleanser is put into a bucket for cleaning. To reduce the likelihood of walking on the wet floor, be organized, and start at one end of the room, mopping from end to end in a straight line and gradually moving down. The floor has to be permitted to dry naturally when this is finished. Put up a wet floor sign to finish- Never neglect to indicate the wet floor notice; otherwise, someone might be hurt, and you or your company could face legal repercussions.


